
Pin on Garden Patio's/driveways by TG mason
Steps and low terracing Reclaimed railway sleepers are quite popular for the construction of terracing and steps , however, they can cause more problems than they solve, especially for gardeners, who will probably not appreciate the oils, tars, creosotes, British Rail coffee and whatever else was used to originally preserve the timbers.
How to Build Railway Sleeper Steps Checkatrade
LawN & Border 1.4K subscribers 34K views 6 years ago via YouTube Capture sleeper steps part 3 Sleeper steps built and slabs to come out now in preperation for the ground to be.

Why Choose Our Concrete Sleepers Outback Sleepers Australia
Building the Sleeper Steps There are two basic ways to fix your sleepers into place - you can either concrete them in or drive wooden stakes into the ground and fix the sleepers to the stakes. The best way for you depends on the ground you are building on. If the ground is very soft or stony, then a concrete fixing will be best.
Stepping Stone Slabs ubicaciondepersonas.cdmx.gob.mx
To make low flooring framing that will conserve headroom, lay pressure-treated 2x4s (sleepers) flat and cover them with 3/4-inch tongue-and-groove OSB underlayment or exterior plywood. What You'll Need Equipment / Tools Circular saw Level Powder-actuated gun Cordless drill Materials Polyethylene membrane Tape Powder-actuated fasteners Shims Screws

DIY NEW BUILD GARDEN SLEEPER WALL, STEPS!? YouTube
Sleepers over concrete slab gmat | Posted in Construction Techniques on December 6, 2007 06:25am I need to put down PT 2X4 sleepers over a concrete slab in order to install a HW floor. What is the current 'best practice' for doing this (e.g. vapor barrier placement, method of securing sleeper to slab, etc.) Replies

Raised lawn with reclaimed sleepers Garden Pinterest Lawn, Raising and Gardens
On a concrete-free slab-on grade, we add a 2-in. to 3-in. layer of 1⁄4-in.-minus gravel above the capillary-break stone. This layer is much easier to screed level and flat so that we can then set our foam-insulation layers in full contact without any voids or settling, which could create bouncy or uneven floors.

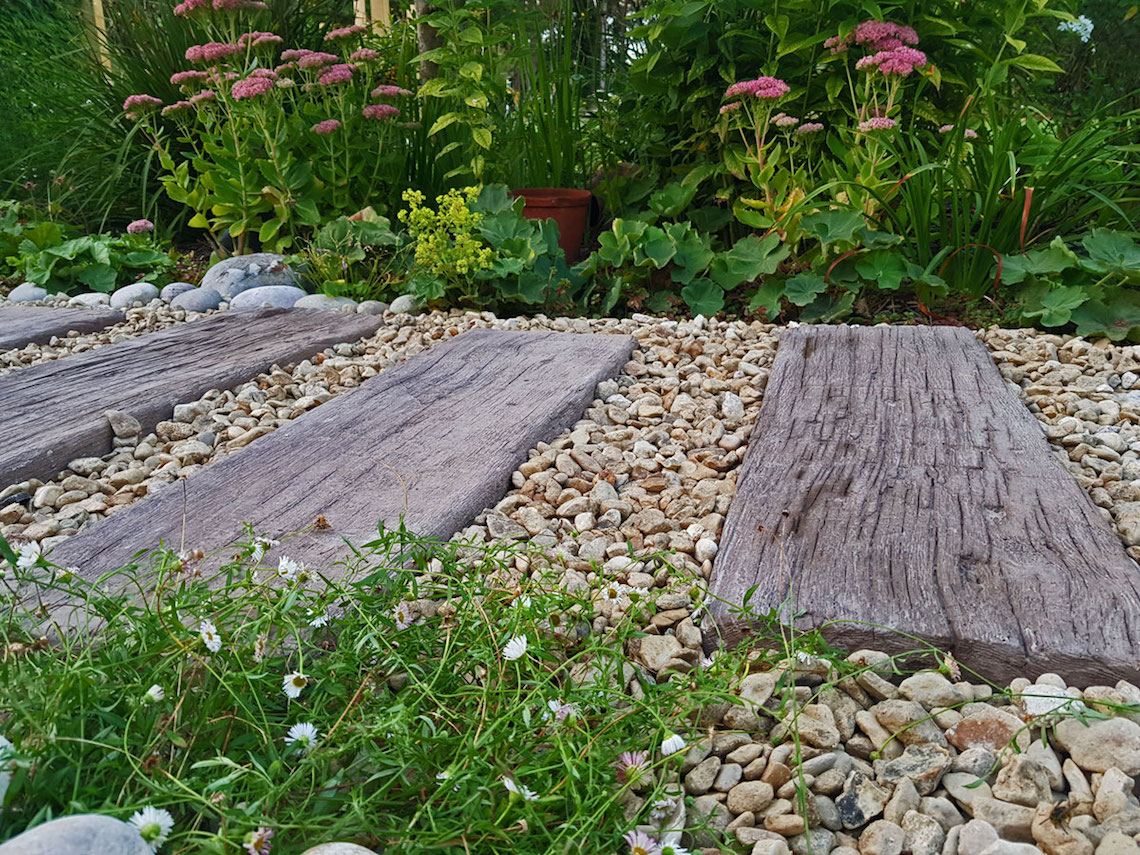
Gravel and sleeper paths Garden design, Garden landscape design, Sleepers in garden
Step 1: Preparing the Concrete Slab Before you begin installing the framing for a sleeper floor, it is essential to properly prepare the concrete slab. This involves clearing and cleaning the surface, repairing any cracks or damages, and optionally applying a moisture barrier. The first task is to clear the surface of any debris or obstructions.
Guide To Incorporating Sleepers In Your Design RF Landscape Products
How to build garden steps Introduction If you want to construct garden steps that are built into an earth slope, you can use a whole range of materials - from bricks to concrete slabs, timber to gravel, and concrete to large flat stones. The design really depends on the type of material you're using, the gradient and the length of the slope.

Railway Sleeper Steps In 2019 Garden Stairs Garden Steps Garden stairs, Garden steps, Sleepers
Stairs connected to the patio can complicate this project. To keep step heights equal, you'll have to raise the treads by the same distance you raise the patio (2-1/2-to 3-1/2-inches). On concrete steps, that's a straightforward job: You can treat them just like the patio, screwing sleepers to the treads and risers and decking over them.

William Mackay Precast Ltd Wooden sleeper, Hypertufa, Garden decor
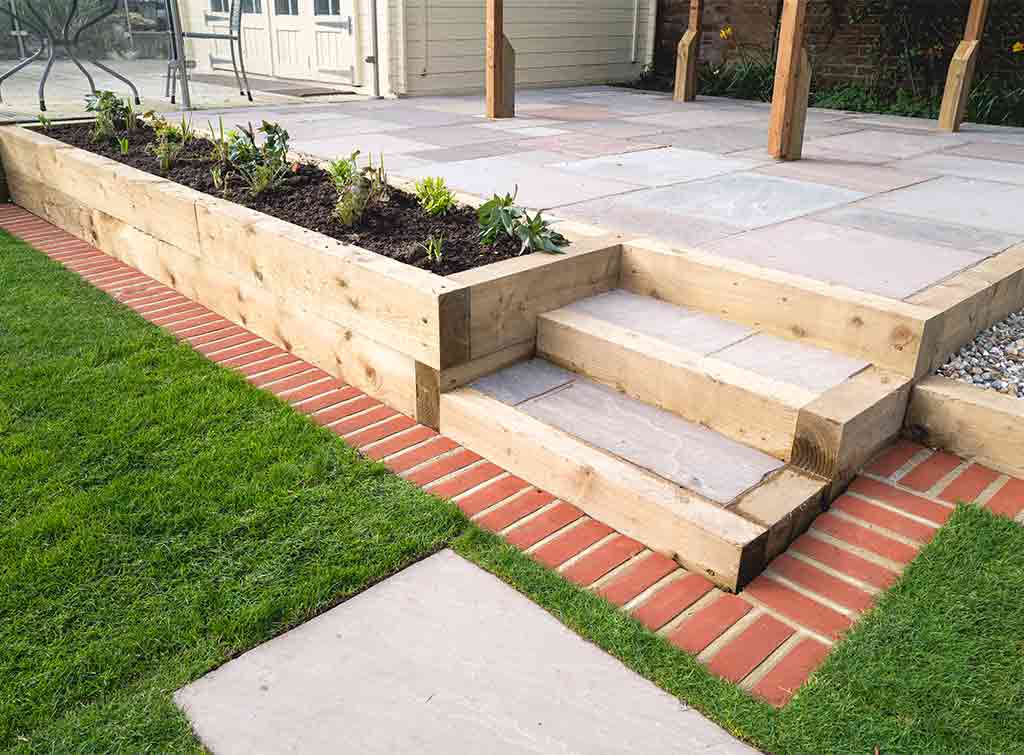
Prepare a 50mm deep footing for your wall using a sand and cement mortar mix. Lay the first course of sleepers and fix by inserting metal rods through pre-drilled holes into the footings as shown above. Continue building to the top. Maintain the 25mm step-back and ensure all sleepers are firmly fixed to the ones below.

Sleepers with step Sloped garden, Backyard landscaping designs, Sleepers in garden
The ultimate way to set out your steps on a slope is to work out your overall height by distance. For this example we will use a distance of 10 metres with a level change of 2m. We know that we want a step of around 150mm so to calculate the number of steps we divide 2.000mm by 0.150mm = 13.333

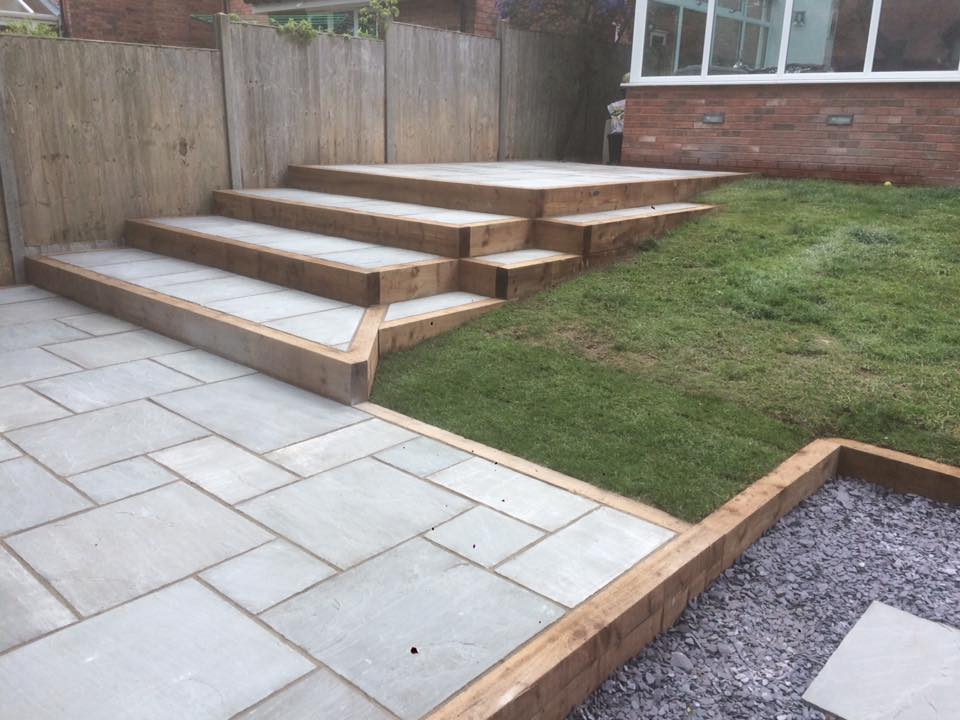
Sleeper walls and sleeper steps in 2020 Landscaping retaining walls, Back garden design
As sleeper steps are partially submerged, we recommend using hardwood sleepers for their long life and durability against decay.. Go for bark chippings, decorative stones or gravel for an easy DIY finish, or if you're feeling confident, paving slabs or outdoor tiles make for a sleek look. Sleeper steps can become slippery over time when.

Granite effect paving slabs edged with timber sleepers. Back Garden Design, Garden Design Plans
Sleeper steps are a fantastic garden landscaping project, providing a natural looking feature which is practical, attractive, and long-lasting. Read on for our step-by-step guide on how to build sleeper steps. Important features Design and planning Preparing and cutting timber Laying down the sleeper steps Finishing off Shop our timber

+44 The Biggest Myth About Patio Garden Ideas Railway Sleepers Exposed 44 freehom… Sloped
Railway sleeper steps are great alternatives to using bricks or stone. Do you want to make a few steps out of railway sleepers, but unsure how ? Check out these imaginative and inventive step projects using railway sleepers.

Building the Perfect Patio JD Landscapes
Spirit level How to make steps out of sleepers: Cut your sleepers to the size required for each step. Paint wood preserve onto the newly cut ends for protection. Depending on which method you are using to fix your sleepers in place (see steps 3 and 4), mark out your steps and dig out your basic step shapes in preparation for fixing your sleepers.
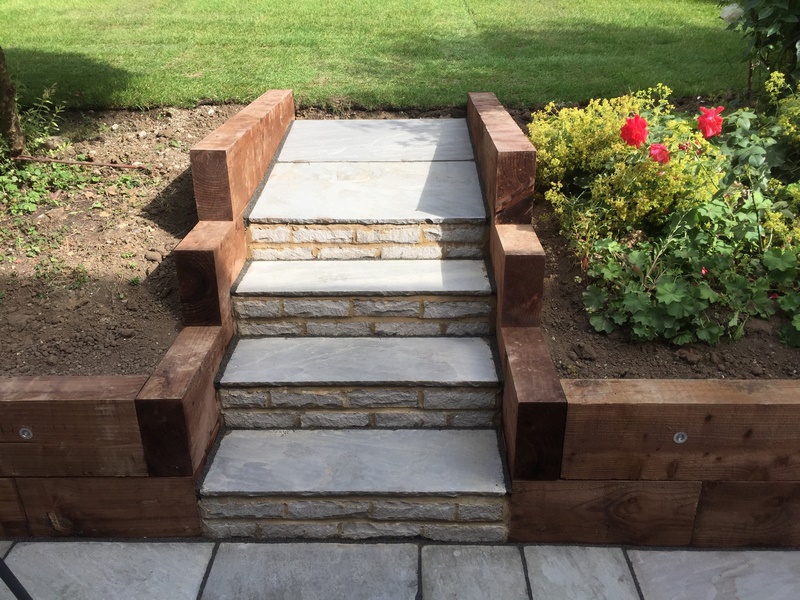
Patio with Sleeper Edging & Steps Leading to Garden Price My Drive
Our sleeper step vision will run all the way down from our boundary to to front door. When we brought this little do a upper we inherited paving steps that had gravel in between and a (shall we say) rustic loose brick boarder. All this was coming apart. With the paving slabs not properly cemented in place, the whole path way was a trip hazard.
